People are always asking me about processing film at home (in my kitchen) so I thought I'd post up a bit of stuff about the Homelab. I'm still learning but I feel like I've got comfortable with the whole process, and if I can do it, anyone can. This is by no means a comprehensive guide to processing B&W film in the home, just a few notes from my adventures in home processing.
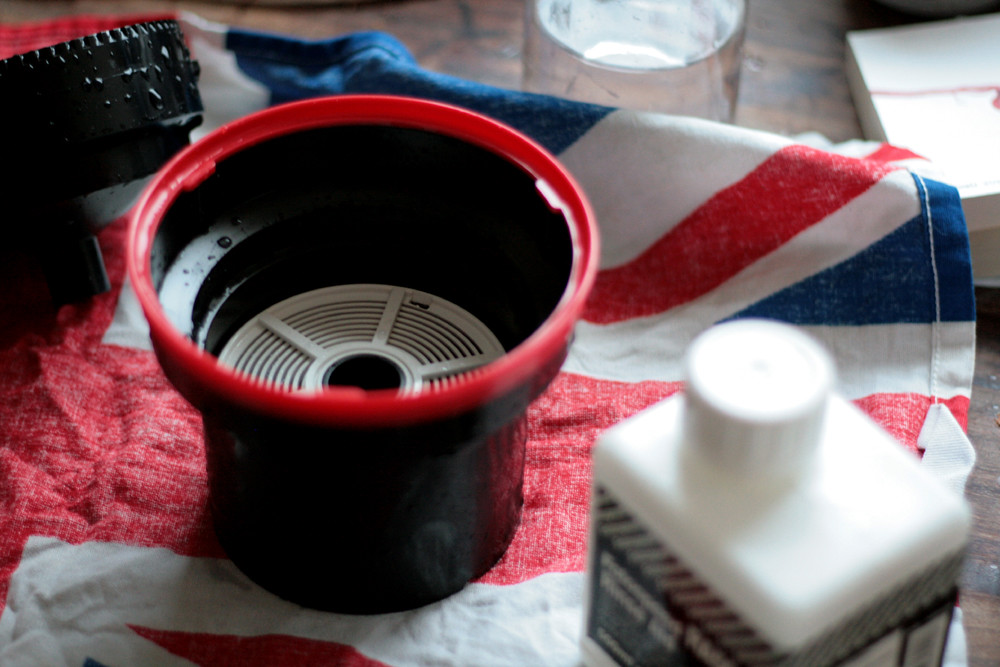
I got all of my kit when I bought my darkroom from Gumtree a few years ago. It sat around gathering dust before I realised I had a bunch of B&W 35mm that needed processing, and I could do that myself. I do this in my kitchen where I have running water for rinsing (and the cat can't get in the way) but I guess you could do it anywhere where you have space/running water.
I hadn't processed film since high school, thus I was/am a bit rusty. To begin with, I used this guide
HERE. I still have a printed copy of it covered in food and chemicals in my kitchen with my recipe books, in fact, and I refer to it if I'm (hungover) stuck. Its handy.
Chemicals are easy to pick up online, I get mine from
Silverprint. Store them wisely, I had to throw some developer out because it wasn't kept airtight. Sad trombone. I always keep a bottle of water under the sink at room temperature for mixing developer as well, at this time of the year its a faff to get tap water to the right temperature.
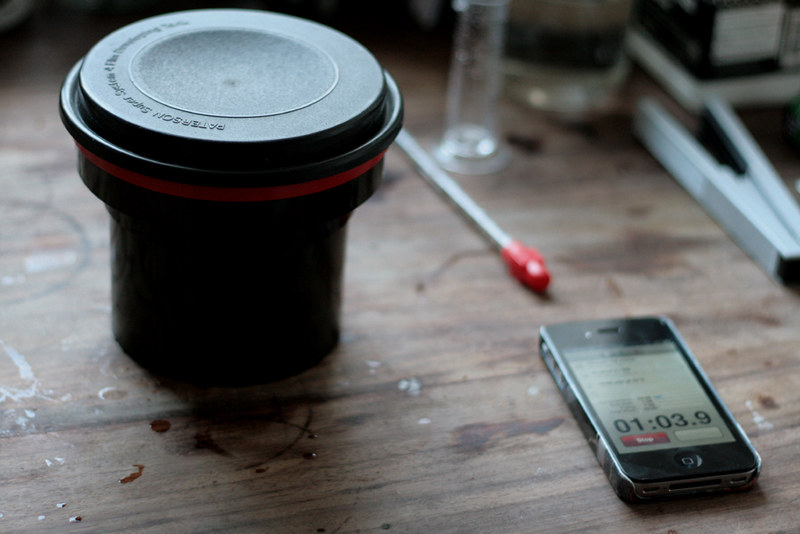
I really, really recommend using the
Massive Dev app - its not cheap, but I'd be lost without it. You pop in the film and speed, developer brand, and you can fiddle around with temperature for when that bottle of water just won't stay at 20 degrees, and it gives you times for various stages of the process. If you plan to process film at home and you aren't good with numbers/maths, get this app. Its not cheap but I'd be lost without it.
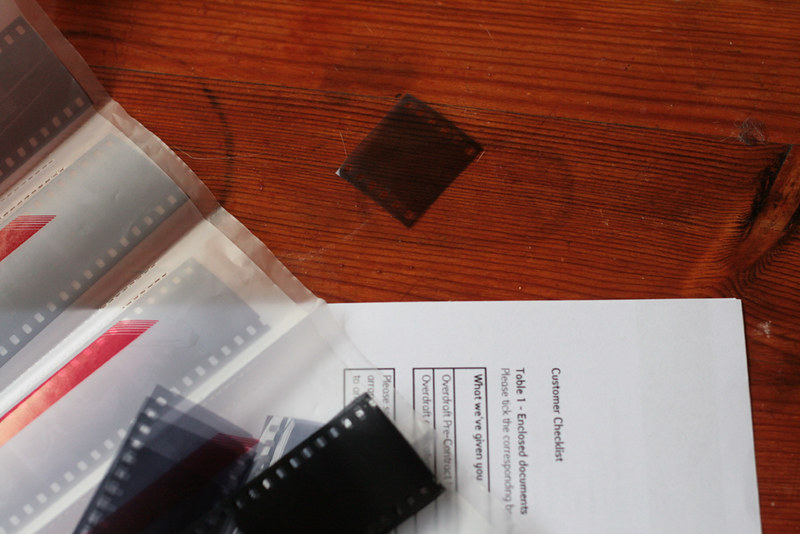
I really hate rinsing film, it takes forever (ten minutes) and you get cold hands. But do not skip/be lazy with this step. I did that once and now there is a fix stain in the middle of this.
Wu-wuuuh. I'm probably going to start using bottled water for my final rinse as well, just to get any London gunk off of the negatives at the end. That's right London, you got gunk.
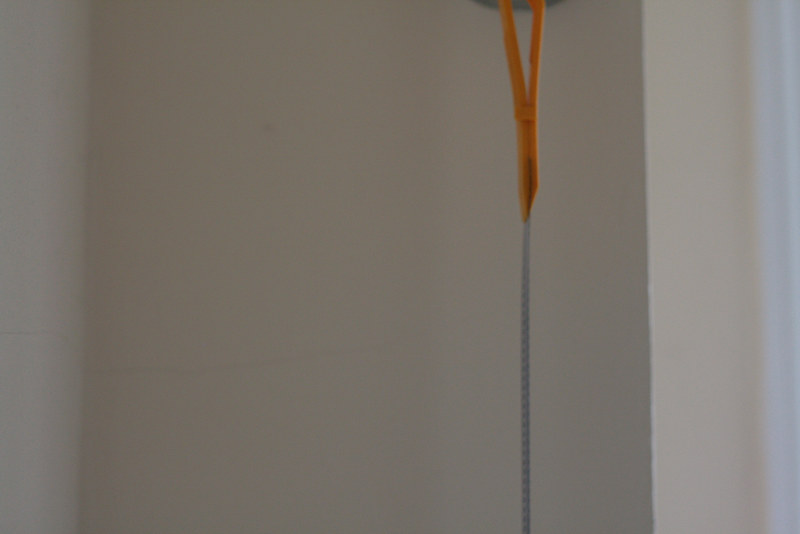
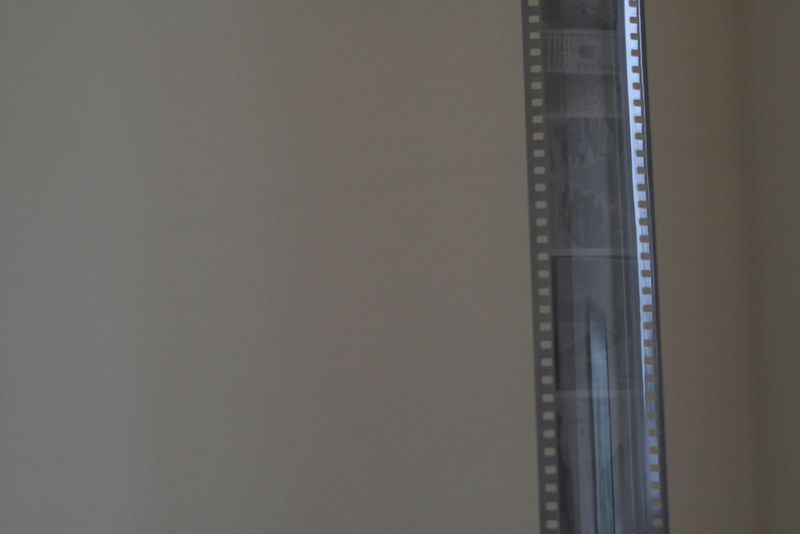
I squeegee my film in the shower and hang it to dry in the bathroom where we get the least dust (or so I tell myself). We have a cat though, so dust is rife. I try and process films first thing on a weekend morning, so if possible I can scan it in later in the day. I try and get in there before any dust can settle. I hate dust. I'm still trying to work around the dust.
I got a big job lot of film sleeves off of the eBay, in case you need some. Someone else is always getting rid of that kind of shit, snap it up because you will want to store these babies in something that keeps them clean.
I really, really hate scanning film, so I'm not going to go into that. It takes forever, and my scanner has started to do weird things like crop or totally skip frames - which is why I am blogging about this instead of blogging actual photographs this week.
If you process film in your home, do you have any tips to share? Please do!
Have fun....!


I am planning to do this for a while now, so your info were more than welcome! Thank you for this post!
ReplyDeleteYou are more than welcome! Its super fun, and a great challenge. Sometimes its SO frustrating but I feel like I'm always learning new things and working things out. The perfect at home project for a frustrated creative with a boring desk job!
Delete